まずはSwiftUIでプロジェクトを作成して、パッケージ名を決める。
次にFirebaseのサイトにログインして、パッケージ名を登録しておく。
次にPodでFirebase関連のモジュールをインストールする。
プロジェクトのルートに移動し以下のコマンドでpodファイルを生成する。
pod initnanoエディタで2行追加する。
# Uncomment the next line to define a global platform for your project
# platform :ios, '9.0'

target 'ChatApp' do
  # Comment the next line if you don't want to use dynamic frameworks
  use_frameworks!

  # Pods for ChatApp
  pod 'Firebase/Core'
  pod 'FirebaseFirestore'
end
pod installこれでライブラリがインストールできた。
xcworkspaceを開く。
SwiftUIの場合の初期化は以下の通りにする。
import SwiftUI
import Firebase
@main
struct ChatAppApp: App {
@UIApplicationDelegateAdaptor(AppDelegate.self) var appDelegate // 追加
var body: some Scene {
WindowGroup {
ContentView()
}
}
}
// 下記追加
class AppDelegate: UIResponder, UIApplicationDelegate {
func application(_ application: UIApplication, didFinishLaunchingWithOptions launchOptions: [UIApplication.LaunchOptionsKey : Any]? = nil) -> Bool {
FirebaseApp.configure()
return true
}
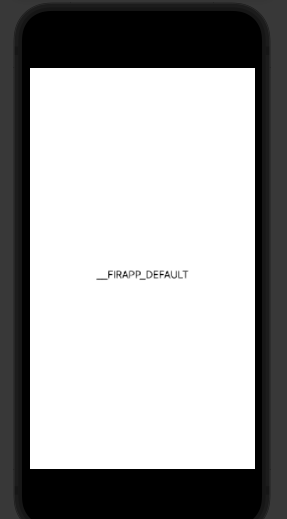
}Firebaseのアプリ名をテキストで表示してみる。
import SwiftUI
import FirebaseCore

struct ContentView: View {
    var body: some View {
        Text(FirebaseApp.app()?.name ?? "hoge")
    }
}

struct ContentView_Previews: PreviewProvider {
    static var previews: some View {
        ContentView()
    }
}
Xcode 13でやってみたのだが、BuildSettingからenable bitcodeをOFFにしないとエラーが出た。
うまくいくとプレビューでも以下のように表示される。